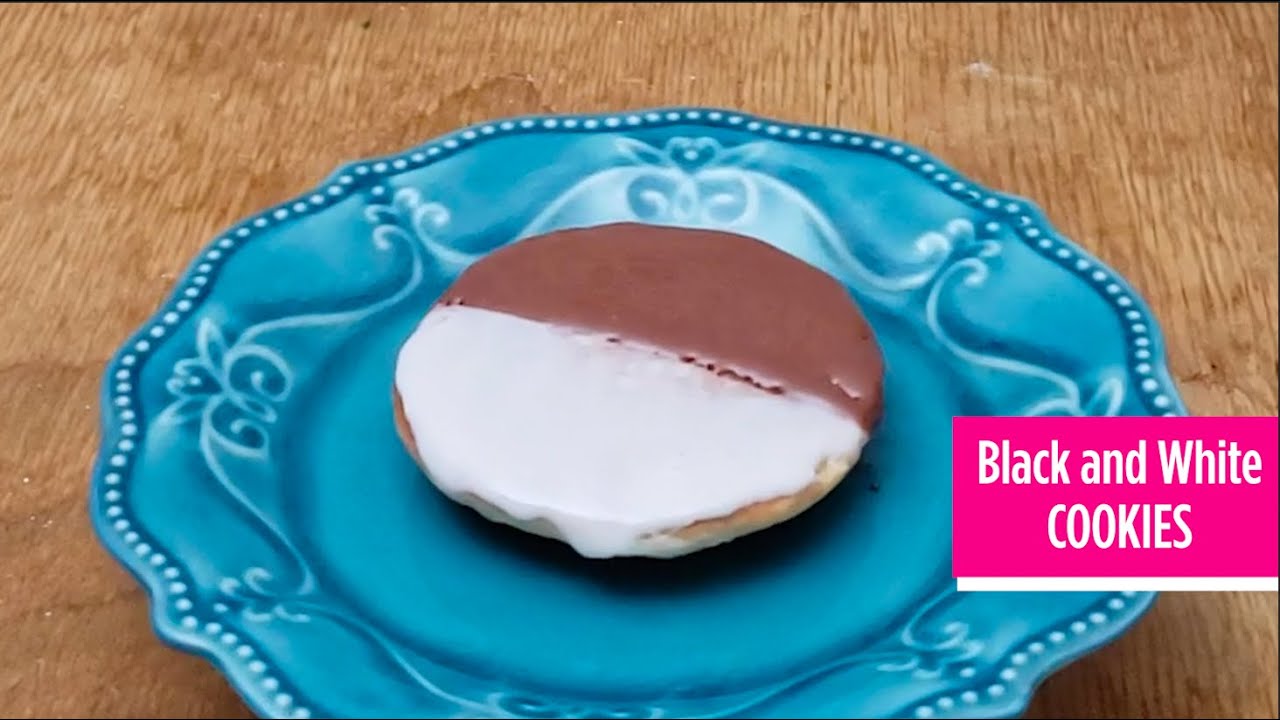
Black and white cookies are more than just a dessert—they’re a slice of history. These iconic treats originated in New York City over a century ago and have become a symbol of tradition and indulgence. With their soft, cake-like base and two delicious frostings—one chocolate, one vanilla—they’re as visually striking as they are tasty.
I had my first Black and White cookie at a small deli in Henderson, Nevada. Nevada is quite a trip from Oklahoma for a cookie. I just had to figure out how to make them.
A Brief History of Black and White Cookies
Here is a cool history of Black and white cookies that the Internet gave me: Black and White cookies are thought to have been inspired by German-American baking traditions in the early 20th century, often referred to as “half-moon cookies” in some regions. They gained popularity in Jewish delis and bakeries throughout New York City, where they became a staple. Over time, their two-tone frosting has come to symbolize harmony and balance, giving them cultural significance beyond their flavor.


Today, black and white cookies are enjoyed nationwide as a classic, nostalgic treat. Their rich history and timeless appeal make them a must-bake for anyone looking to recreate a piece of New York in their own kitchen.
Why You’ll Love These Black and White Cookies
- Simple Ingredients: Made with pantry staples like butter, sugar, and flour.
- Bakery-Style Results: You’ll get that soft, cake-like texture and bold frosting right at home.
- Perfect for Any Occasion: Whether for a party or a cozy treat, these cookies impress every time.
- A Touch of Nostalgia: Enjoy the timeless charm of this classic dessert with a rich history.
Equipment You’ll Need for Black and White Cookies
Mixing Bowls: https://amzn.to/40hhqgR
Electric Mixer: https://amzn.to/3DHdAEU OR Stand Mixer: https://amzn.to/4fADZ4s
Baking Sheets: https://amzn.to/3PA2iFc
Parchment Paper: https://amzn.to/4gJttcU
Cookie Scoop or Ice Cream Scoop: https://amzn.to/3PxD7mM (favorite brand!)
Spatula: https://amzn.to/4gBCK6v
Wire Rack: https://amzn.to/4a0W0YO
Frosting Tips and Technique
The frosting is what makes black and white cookies so special. Here’s how to get it just right:
Cool Completely: Allow the cookies to cool fully on a wire rack before frosting to prevent melting.
Divide the Frosting: Once prepared, divide the frosting into two bowls. Leave one plain for the vanilla side and add sifted cocoa powder to the other for the chocolate side.
Frost Cleanly: Use a piece of parchment paper or a ruler to help guide a straight line across the cookie. Start with the vanilla frosting and cover half of the cookie.
Let It Set: Allow the vanilla frosting to firm up slightly before applying the chocolate frosting.
Smooth Application: Use an offset spatula or the back of a spoon to spread the frosting evenly, working from the center outward.
Pro Tip:
For a glossy, bakery-style finish, dip your spatula in warm water to smooth the frosting as needed.
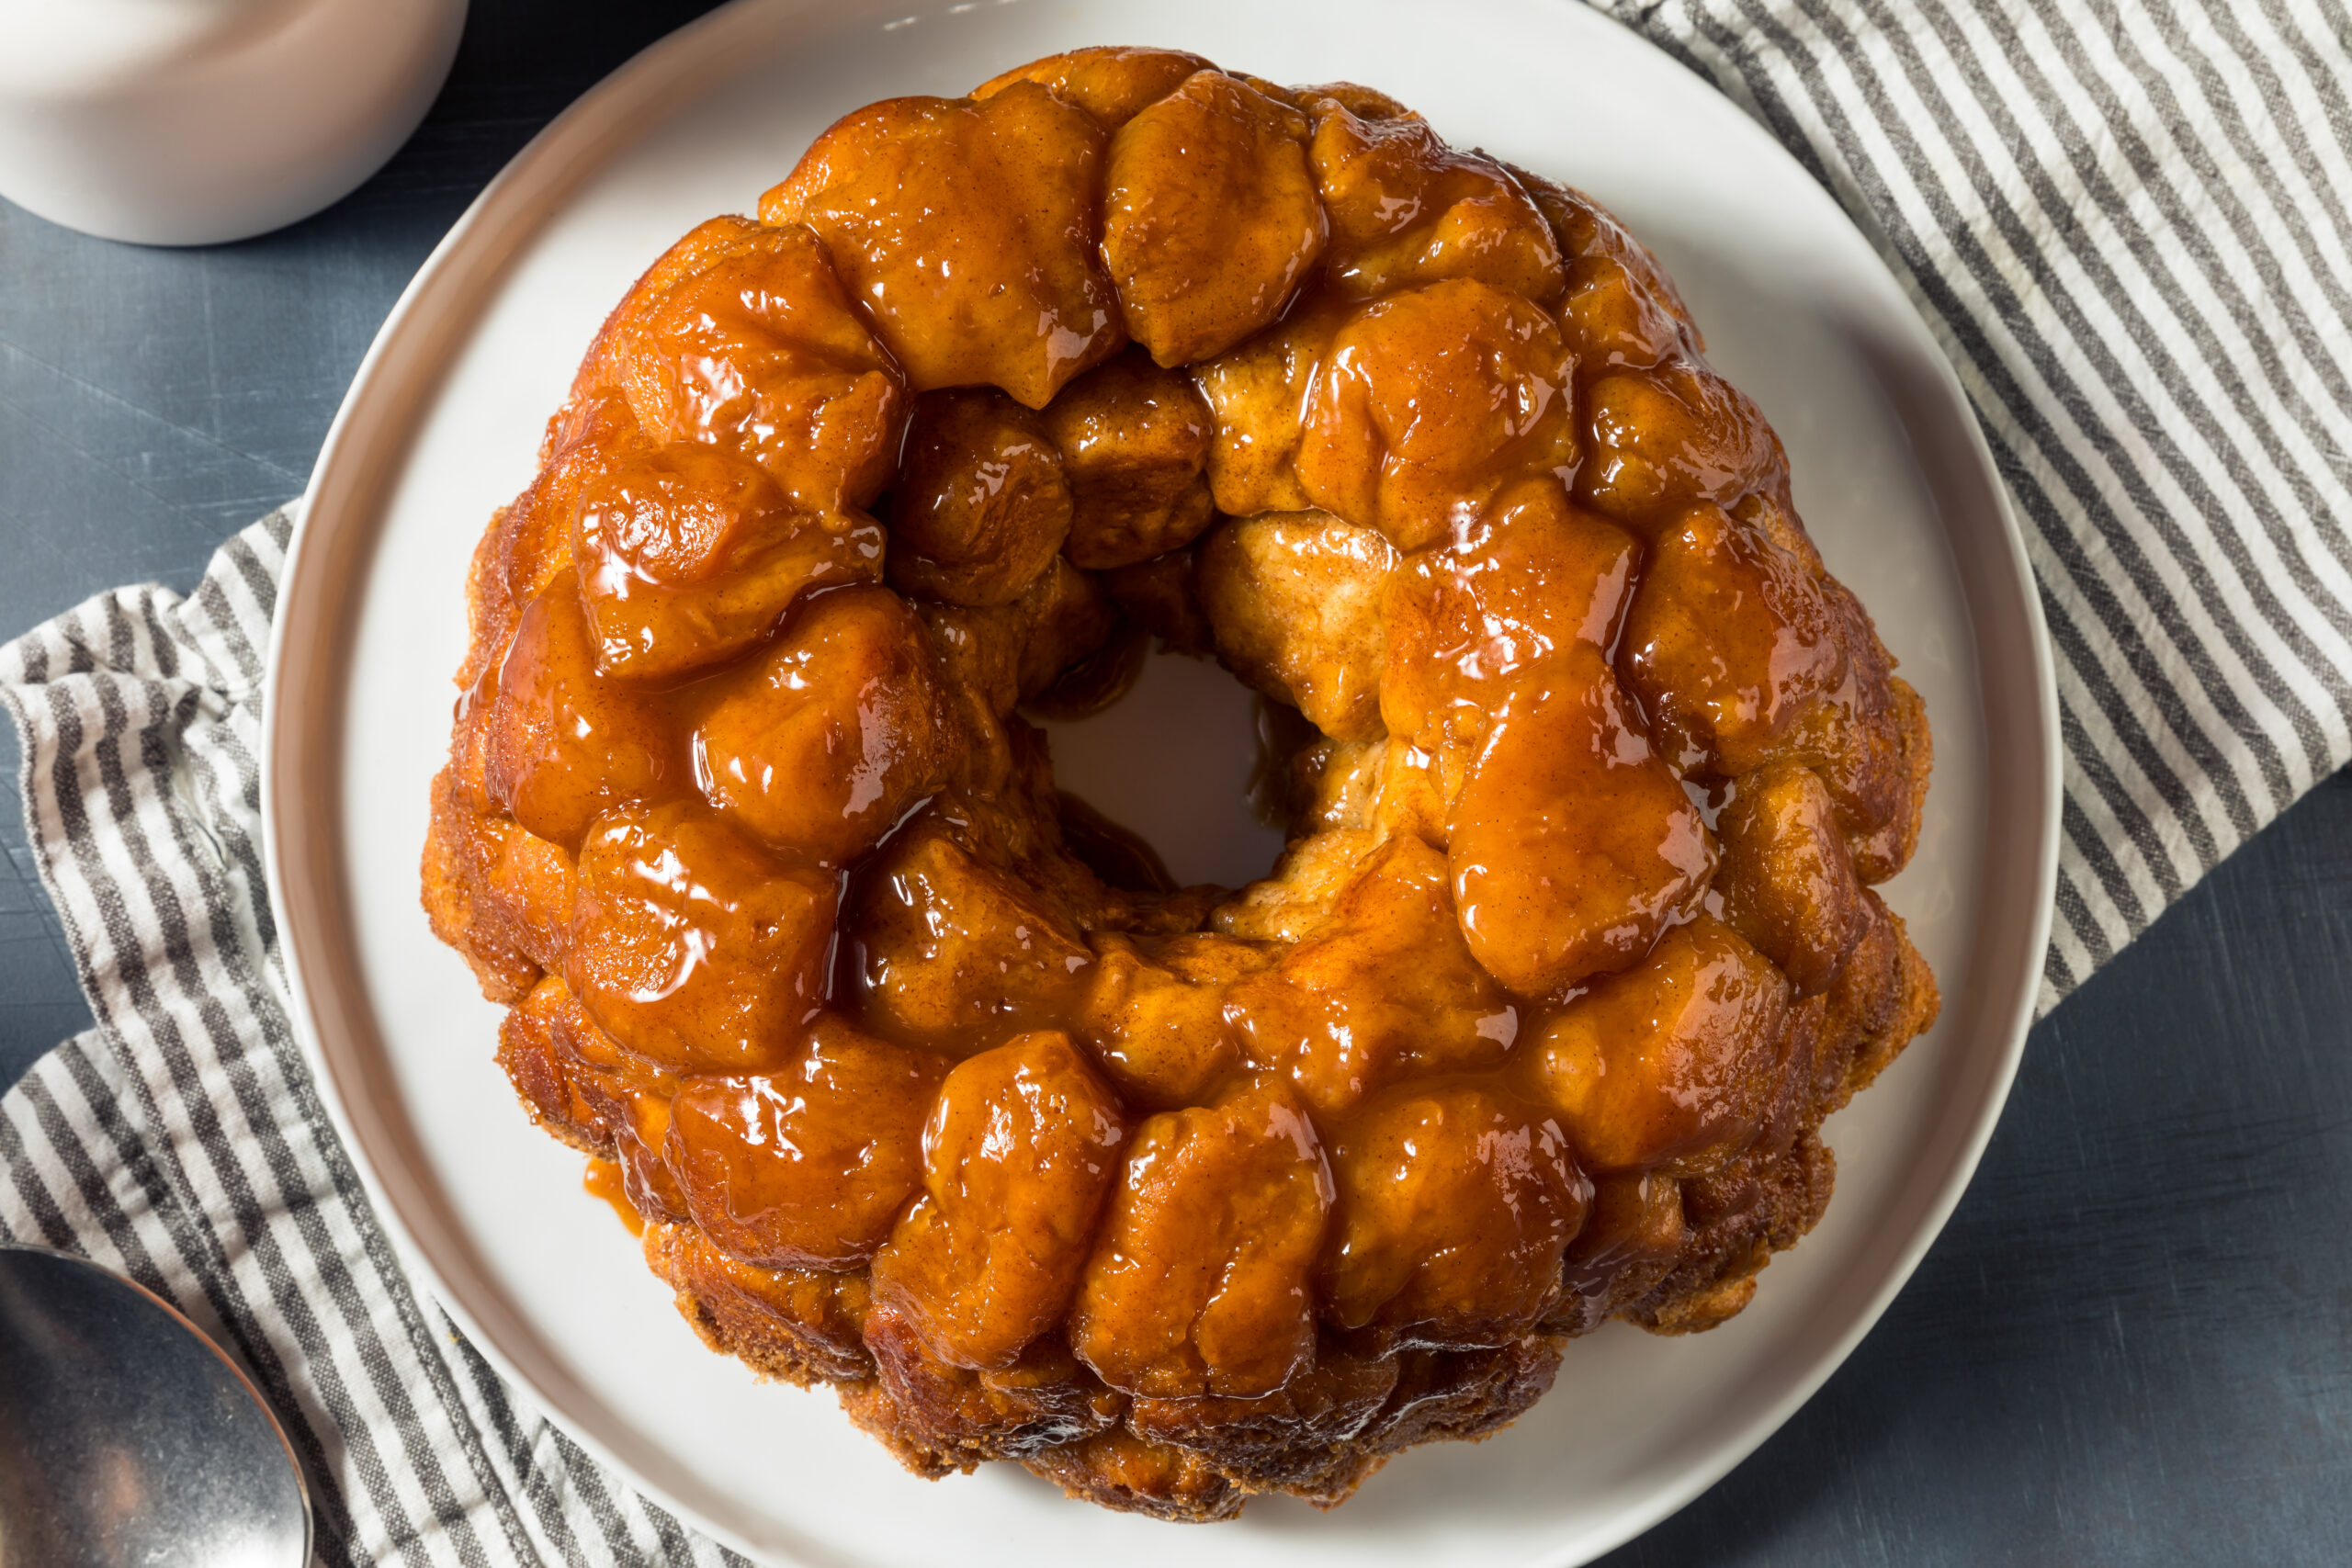
You may also want to try my Monkey Bread Recipe
Ingredients
For the Cookies:
1 1/2 cup butter, softened
1 cup granulated sugar
Zest of a lemon (or lemon juice)
2 large eggs (room temp)
2 tsp banilla
1/2 tsp salt
1/2 tsp baking soda
1/2 tsp baking powder
2 cups all purpose flour
1/2 cups buttermilk (buttermilk alternative: for every cup of buttermilk needed, use about 3/4 cup sour cream mixed with 1/4 cup liquid)
For the Frosting:
3 1/2 c powdered sugar
2 tbsp corn syrup
1/8 tsp vanilla
Hot Water
2 tbsp cocoa powder
Step-by-Step Instructions
Prepare the Dough: In a large mixing bowl, beat the softened butter and sugar together until the mixture is light and fluffy. Mix in the eggs and vanilla extract until well combined. In a separate bowl, whisk together the dry ingredients: flour, baking soda, baking powder, and salt. Gradually add the dry ingredients to the butter mixture, alternating with the buttermilk, starting and ending with the dry ingredients. Mix until just combined.
Drop Cookies and Chill: Use a 1.5 tbsp cookie scoop to drop the dough onto the baking sheets, spacing them 2 inches apart. Chill the dough in the refrigerator for about 15 minutes (I keep them there while the oven preheats).
Prepare the oven and pan: Preheat your oven to 350℉ Line baking sheet with parchment paper.
Bake: Flatten the tops or each cookie slightly. Bake for 15-18 minutes, or until the edges are lightly golden and the centers are set. Cool the cookies completely on a wire rack.
Make the Frosting: In a medium bowl, combine the powdered sugar, corn syrup, and vanilla, mixing until smooth. Gradually stir in the hot water, a little at a time, until the mixture reaches a thick glaze consistency, similar to donut glaze. Divide the glaze evenly into two bowls. Add cocoa powder to one bowl and mix well, adding a bit more water if needed to match the smooth texture of the white glaze.
Frost the Cookies:
 Using a small spatula, I drizzled a (semi) straight line of vanilla glaze down the center of each cookie, then carefully spread it from the center to the edges. Once all the cookies were frosted with the vanilla glaze, I returned to the first cookie in the same order. This gave the vanilla glaze enough time to set before adding the chocolate glaze. I repeated the process with the chocolate glaze, ensuring a clean line between the white and black sides, creating the classic two-toned look of the cookies.
Pro Tips for Success
Room-Temperature Ingredients: Ensure smooth mixing and even baking.
Chill the Dough (Optional): If the dough feels too soft, refrigerate it for 15-20 minutes before scooping.
Storage: Keep cookies in an airtight container for up to three days, or freeze them for longer storage.
The Perfect Balance of Flavor and History
These black and white cookies are a timeless classic with a rich story and an even richer flavor. With their soft, cake-like texture and perfectly balanced frostings, they’re ideal for sharing or savoring solo with a cup of coffee. Recreate the charm of a New York City bakery in your kitchen and experience why these cookies have been a favorite for generations. 🍪


Classic Black and White Cookies
Description
Black and white cookies are soft, cake-like with two delicious frostings—one chocolate, one vanilla—they’re as visually striking as they are tasty.
Ingredients
For the cookie:
For the frosting:
Instructions
Cookies
-
Prepare the Dough
In a large mixing bowl, beat the softened butter and sugar together until light and fluffy. Add the eggs and vanilla extract, mixing until well combined. In a separate bowl, whisk together the flour, baking soda, baking powder, and salt. Gradually mix the dry ingredients into the butter mixture, alternating with the buttermilk. Start and end with the dry ingredients, and mix until just combined. -
Drop and Chill
Use a 1.5-tablespoon cookie scoop to drop dough onto parchment-lined baking sheets, spacing the cookies about 2 inches apart. Chill the dough in the refrigerator for 15 minutes while preheating the oven. -
Prepare the Oven and Pan
Preheat your oven to 350℉ (175℃). Line baking sheets with parchment paper if not already prepared. -
Bake the Cookies
Slightly flatten the tops of each cookie before baking. Bake for 15-18 minutes, or until the edges are lightly golden and the centers are set. Transfer the cookies to a wire rack to cool completely.
Frosting
-
Make the Frosting
In a medium bowl, combine powdered sugar, corn syrup, and vanilla, mixing until smooth. Gradually stir in hot water, one tablespoon at a time, until the glaze reaches a thick consistency similar to donut glaze. Divide the glaze into two bowls. Add cocoa powder to one bowl, mixing well. Add a little more water to the chocolate glaze if needed to match the texture of the vanilla glaze.
-
Frost the Cookies
Use a small spatula to drizzle a straight line of vanilla glaze down the center of each cookie. Spread the glaze evenly from the center to the edges. Once all the cookies are frosted with vanilla glaze, let them set slightly. Repeat the process with the chocolate glaze, ensuring a clean line between the white and chocolate sides for the classic two-toned look. Allow the frosting to firm up before serving.